Student Orientation with The Amazing Trace
The Amazing Trace is an alternative to traditional campus tours, designed to foster navigational confidence and promote awareness of student support services through problem-based learning. This activity was designed to replace tours for orientation and induction for groups of 150 students. The approach has been successfully used by the University of Otago with many cohorts including staff and students. This tutorial will guide you through setting up and running The Amazing Trace for your cohorts.
- Run Time: 60–120 minutes
- Participants: 10–200 students
- Locations: 10-25 key campus locations
- Objective: Promote navigational confidence and awareness of campus services.
Setup and Planning
Step 1: Define Locations
Identify 10–25 key locations that students should visit during the activity. These should include areas such academic buildings, student services, dining areas, and recreational facilities. Make sure only to include locations that are relevant to your cohort.
As you add more locations, the activity will become more challenging and physically demanding. It can be tempting to add more locations, but remember that the goal is to promote familiarity, not overwhelm students.
Locations for the Locals Collegiate Community’s The Amazing Trace: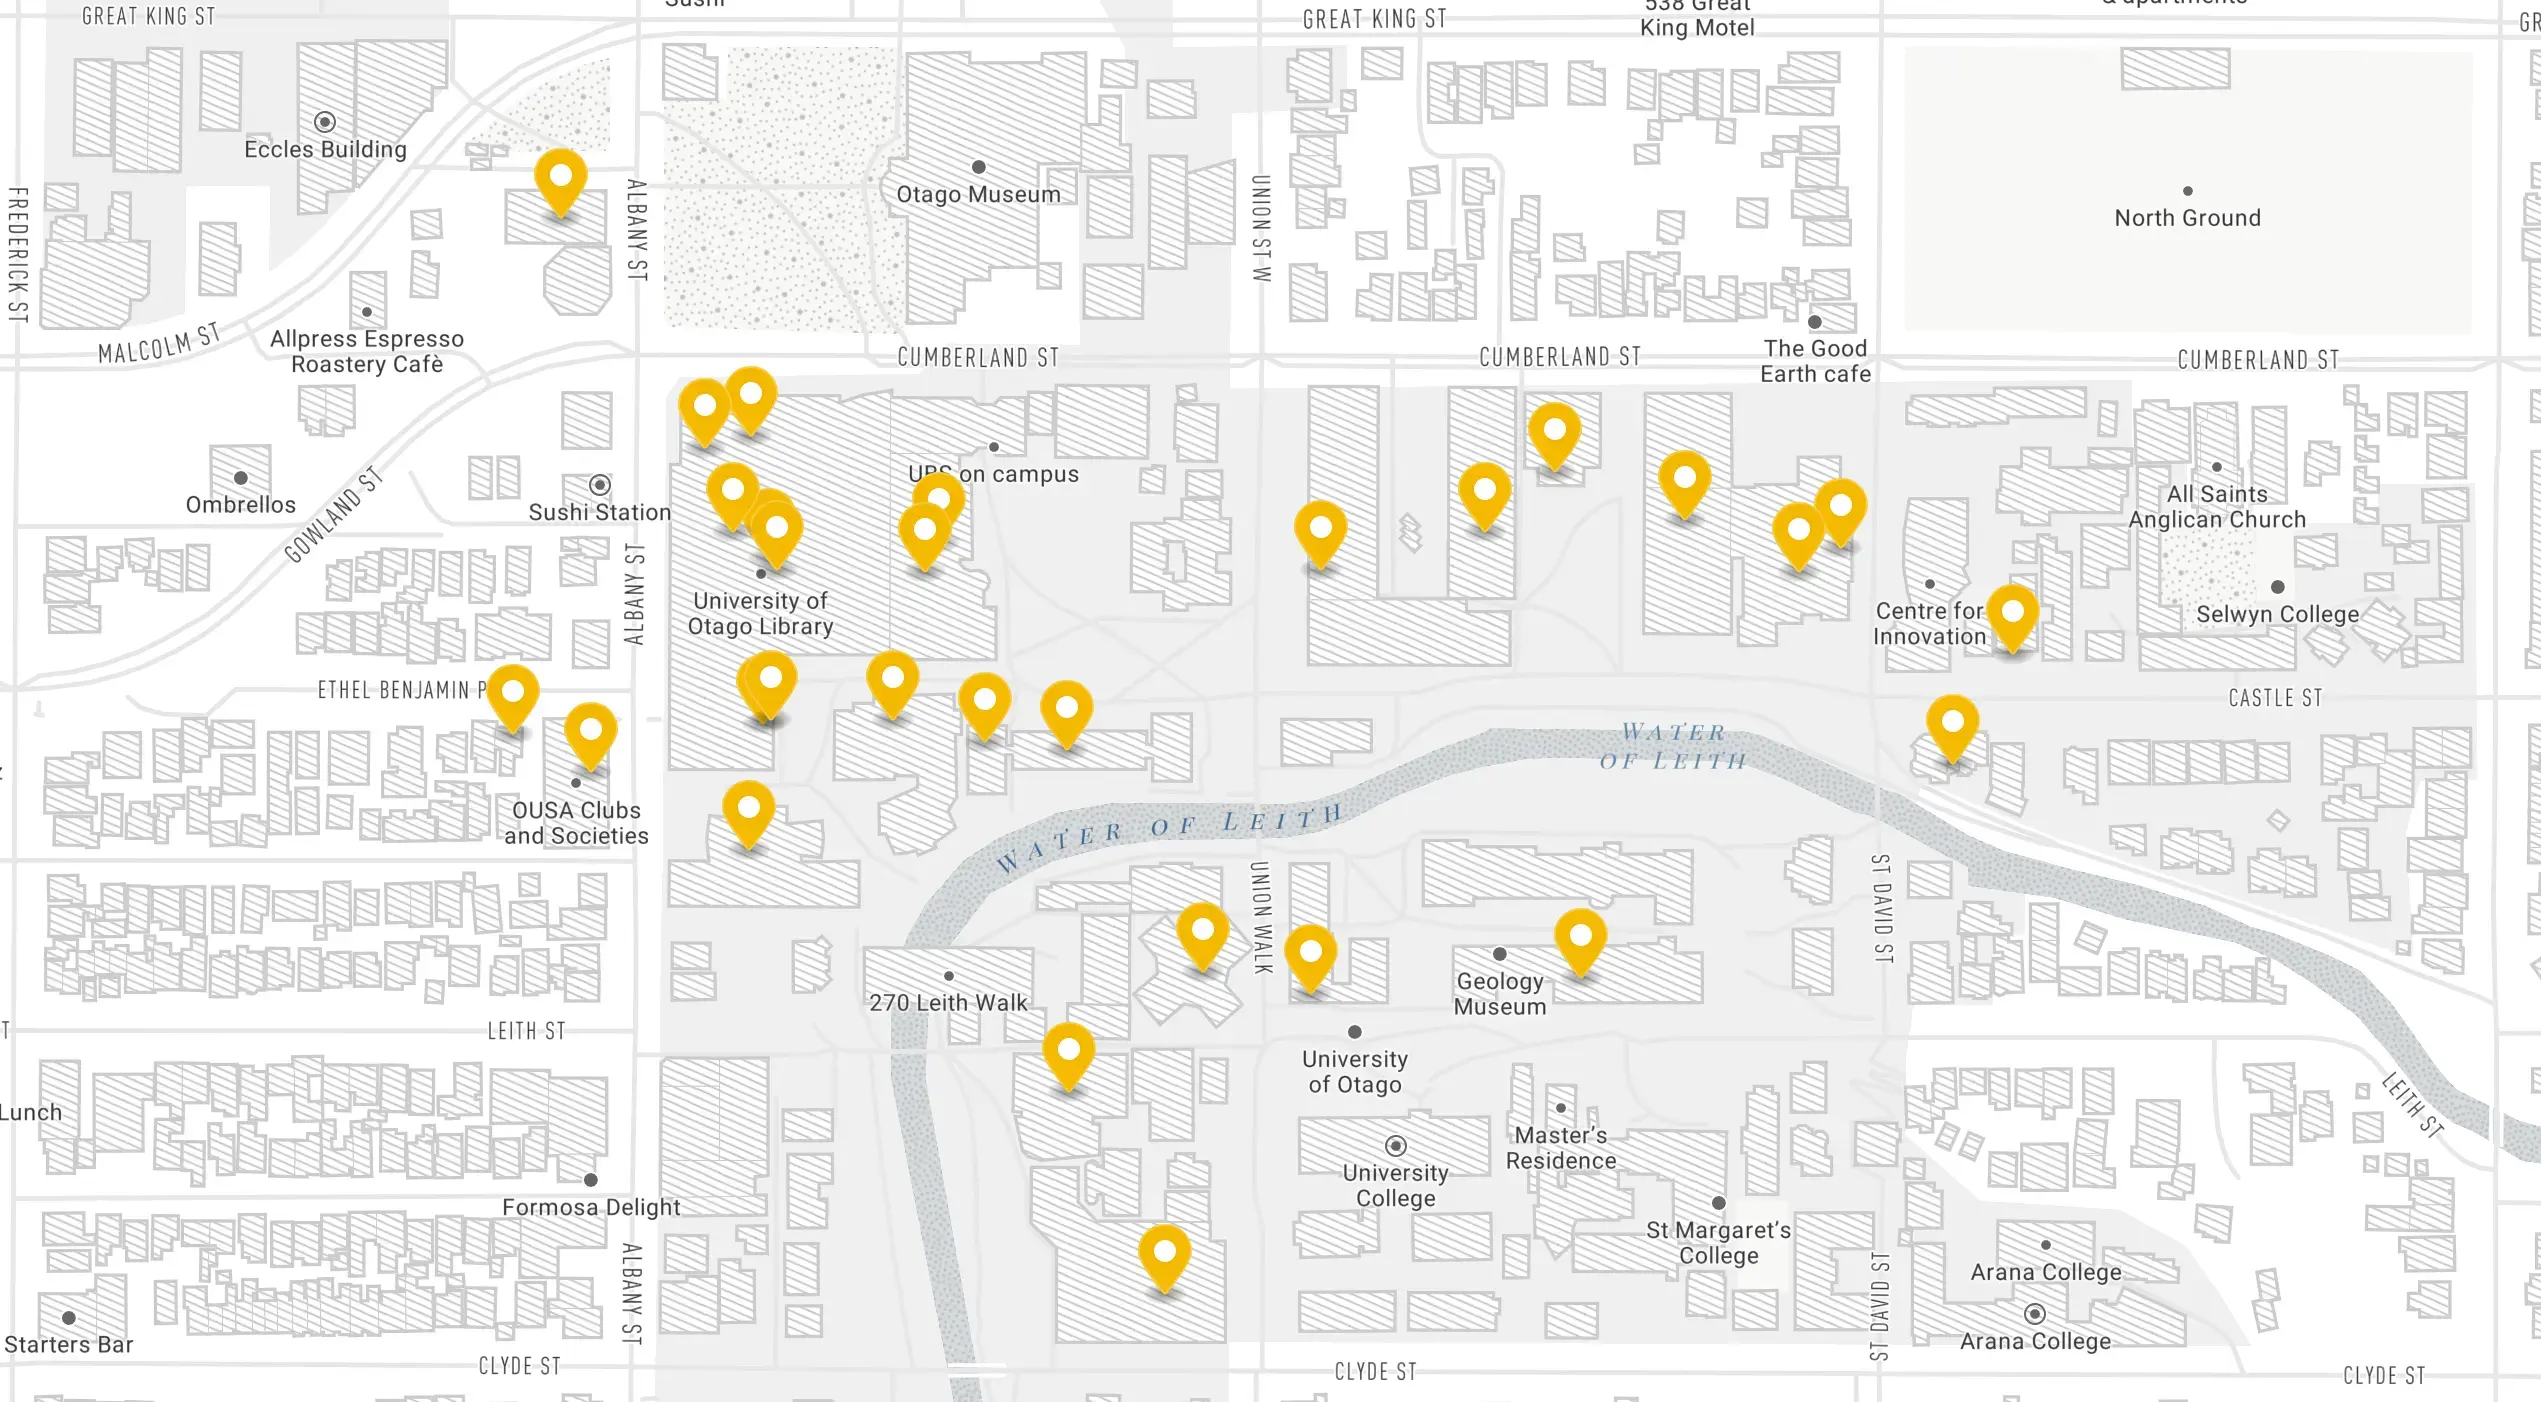
Step 2: Create Challenges
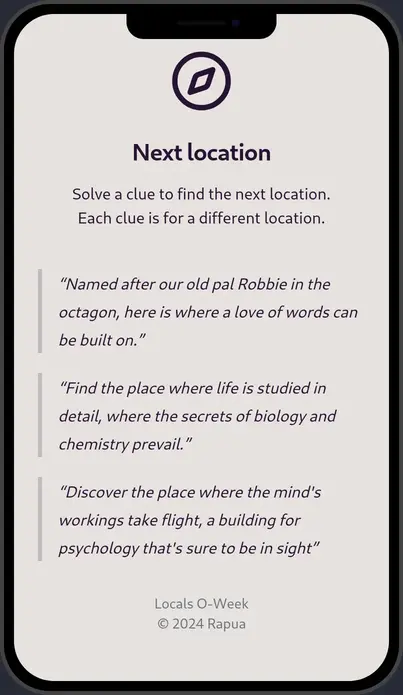
For each location, create clues in the form of problem statements from the perspective of a student needing help. These challenges should be solvable by asking staff or searching for information on the institution’s website or campus map.
For example, Campus Watch at the University of Otago created the following clues:
You’re away for the summer and want to check on your house.
You’re moving to a new flat and need to borrow a trailer.
0800 479 5000, save the number.
We asked each service to provide a set of clues in this format, and adjusted as necessary. This ensured that the clues were relevant and accurate. Each team will only receive one clue per location to reduce cheating between teams.
Each location may also have a unique challenges or tasks that students must complete to check in. For example, participants may need to answer a question, such as “What is the opening on Wednesday?” or “What is the phone number for the library?”.
Step 3: Craft the Experience
The Amazing Trace is a team-based, competitive, timed activity. To set up the experience, you will need to set:
- Navigation Method: Show Clues
- Navigation Mode: Random
- Maximum number of locations to show: 3
- Default Completion Method: Check-in Only
- Enable Points: Yes
- Bonus points for first to check in: Yes
These settings will ensure that teams must navigate by solving challenges and checking in at locations. Rapua will give each team three locations at a time, with one clue per location. Teams must then solve the clues and decide which location to visit first.
Step 4: Add Teams
Create team codes for each group of students. Teams can be added at any time, so don’t worry if you need to make changes later. Teams may start playing by entering their team code on the home page (rapua.nz) or by scanning the QR code for any location.
Team codes allow participants to join the game without needing to create an account. This is especially useful for large groups or one-off events.
Step 5: Test the game
Run a test with a small group to ensure the platform works as expected.
- Add some teams for testing.
- Print the QR codes for each location. They don’t need to be in the correct location for testing.
- Ensure the clues are solvable and make sense.
- Visit each location to get a feel for how long it takes to solve the clue and check in.
Real-World Preparation
- Organise teams
- Divide students into small teams (3–5 members). I chose teams of 3 to reduce the likelihood of a team splitting up.
- Put up the QR codes
- Print the QR codes or posters from the Locations tab.
- Place them in the correct locations around campus.
- Organise staff (optional)
- Designate staff to assist with troubleshooting.
- Equip staff with a basic FAQ for handling student questions.
- Tip: Student services staff might like to hold a small event or challenge which students must participate before checking in.
Running the Activity
- Kickoff Event
- Host a short introductory session to explain the activity.
- Walk teams through accessing and using the platform.
- Ensure all students can log in and navigate the first challenge.
- Tip: If players check in before the scheduled start time, they will be shown the game rules and a countdown timer.
- Monitor Progress
- Use the platform’s admin tools to monitor team locations and progress in real-time.
- Address technical or logistical issues as they arise.
- Promote Engagement
- Use announcements or live updates to encourage competition (e.g., “Team ## is in the lead!”).
- Wrap-Up
- Get ready for participants to return by the scheduled end time or send and announcement to return.
- Announce the winning team and distribute prizes if applicable.
That’s it! You’ve successfully run an Amazing Trace activity. Feel free to repeat the activity with different groups or modify the challenges to suit your needs. The format is flexible and can be adapted to suit different group sizes and locations.
By following this guide, you’ll be able to set up and run a successful Amazing Trace activity, ensuring students gain both navigational confidence and familiarity with campus services in an engaging, memorable way.