Quickstart Guide
Welcome to Rapua! Follow these five simple steps to set up and launch your first game. Whether you’re hosting a team-building event, an educational exercise, or a community activity, Rapua makes the process quick and straightforward.
This guide expands on the Quickstart Bar that appears when you first sign up or when you create a new instance.

Step 1: Create an Instance
Every game begins with an instance. An instance is the container for your game, where you define the rules, create locations, and manage teams.
- Log in to your Rapua account.
- Navigate to your Instances and click Create New Instance.
- Give your instance a name (e.g., “Orientation” or “Health and Safety Tour”).
- Save the instance to proceed.
You’re now ready to add locations, content, teams, and update the settings!
Tip: Your current instance will be displayed on the dashboard for easy access. The fastest way to switch between instances is to click on the instance name and select the desired one from the dropdown.
Step 2: Add Locations
Adding locations is the foundation of your game. Rapua (for now) expects all locations to be real-world spots, such as landmarks, buildings, or objects.
- Go to the Locations tab.
- Click Add Location and provide the following details:
- Location name (e.g., “Library”).
- Points (hidden by default, see Step 4 for details).
- Use the map to pinpoint the location or enter the coordinates manually. Use the search bar for quick location lookup by address.
- Tip: Zoom in for precise placement.
- Save your location and repeat for all necessary spots.
Tip: Add at least three locations for variety and better engagement. This makes a good starting point for most games, and will help visualise the gameplay more in Step 4.
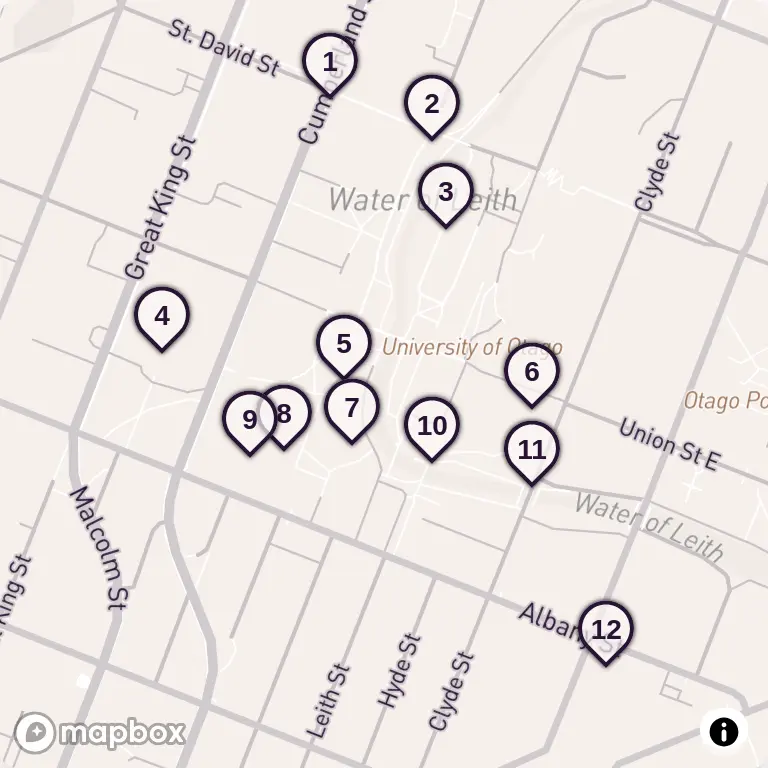
Locations you add will appear on the map in the activity view.
Step 3: Add Teams
Organize participants into teams for collaboration or competition.
- Navigate to the Teams tab in your instance.
- Click Add Team and specify the number of teams you want to create.
- Save your team and repeat as needed.
Invite participants to join the game by sharing the team codes. Teams can be added at any time, so don’t worry if you need to make changes later. Teams may start playing by entering their team code on the home page or by scanning the QR code for any location.
Step 4: Update Game Settings
Customize the gameplay experience.
- Open the Experience tab under your instance.
- Adjust the following options:
- Route Strategy: How will participants move between locations? Select free movement, random selection, or guided paths.
- Navigation Display: How will participants know where to go? Choose from map, list, or clues.
- Enable Points:: Enable or disable scoring mechanisms (optional).
- Save your changes.
Rapua automatically generates a set of rules based on your selections. Players will be shown these rules in the Start page after beginning the game.
Tip: Hover over the information icons 🛈 for additional guidance. Each setting influences the gameplay, so choose wisely.
Step 5: Start (or Schedule) the Game
Your game is ready to launch!
- Go to the Activity page.
- Choose one of the following:
- Start: Launch the game immediately.
- Schedule: Pick a date and time for automatic launch.
- Share team codes with participants to join the game.
That’s it! Your game is live, and participants are ready to explore and learn.
What’s Next?
- Read more about Getting Teams Started to help participants get going.
- Check out the Features or Content Blocks to learn more about what Rapua can do.
Let the adventure begin! 🚀